 Destinations
 Packing
 Travel Tips
 Photography
 Points & Miles
 Credit Cards
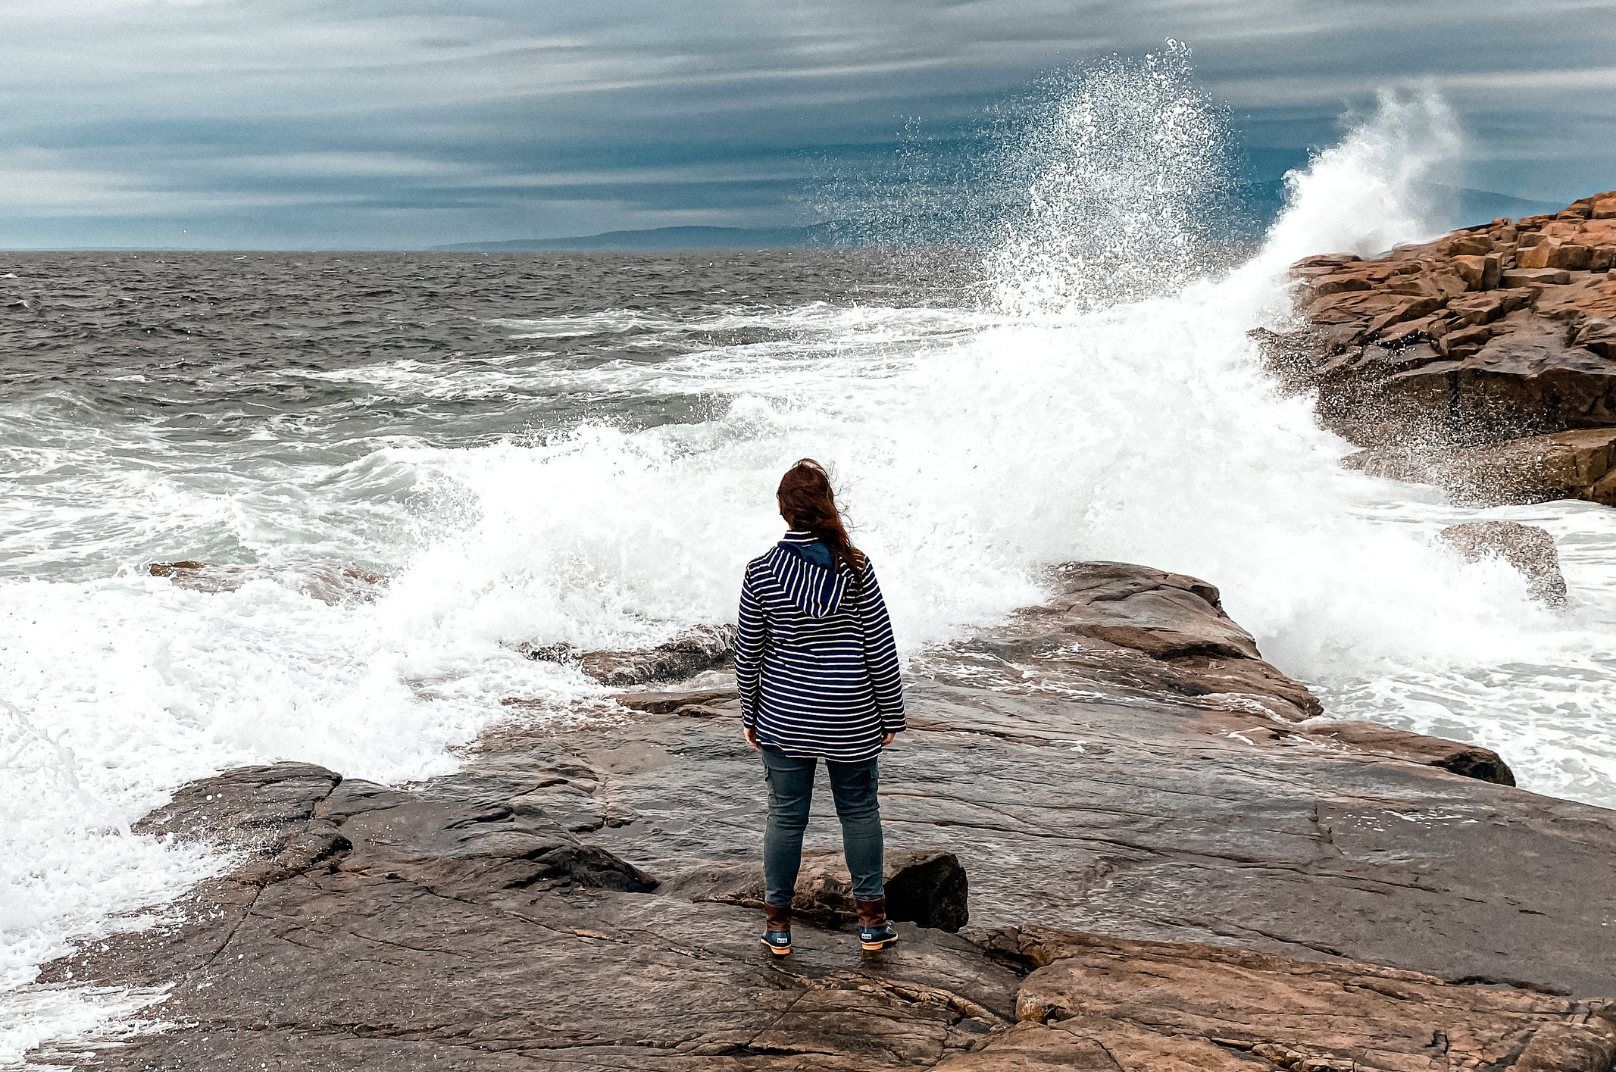
A DSLR camera takes great pictures, but these cameras are bulky, heavy, and expensive. While an iPhone (which you already have) is compact, lightweight, and better for taking photos quickly. So here are the best iPhone travel photography tips.
The Best Travel Photography Gear
With the right equipment, photography techniques, and some creativity, your iPhone can be your go-to travel camera.
Ready to document your next trip? Here are the top iPhone travel photography tips!


 Before you leave for your trip, make sure you have enough storage space on your iPhone for the number of pictures you’ll take.
Have at least one portable charger with you (I keep two with me at all times on a trip) because you’ll use your battery up faster taking photos with just your iPhone.
Familiarize yourself with your phone’s photo settings. Most people don’t utilize their phones’ focus and exposure settings when taking photos. But these are easy changes to make when you’re taking a picture.
Experiment with different apps. There are a wide range of free and paid apps that can enhance your iPhone photos and give you more photography tools on your phone.


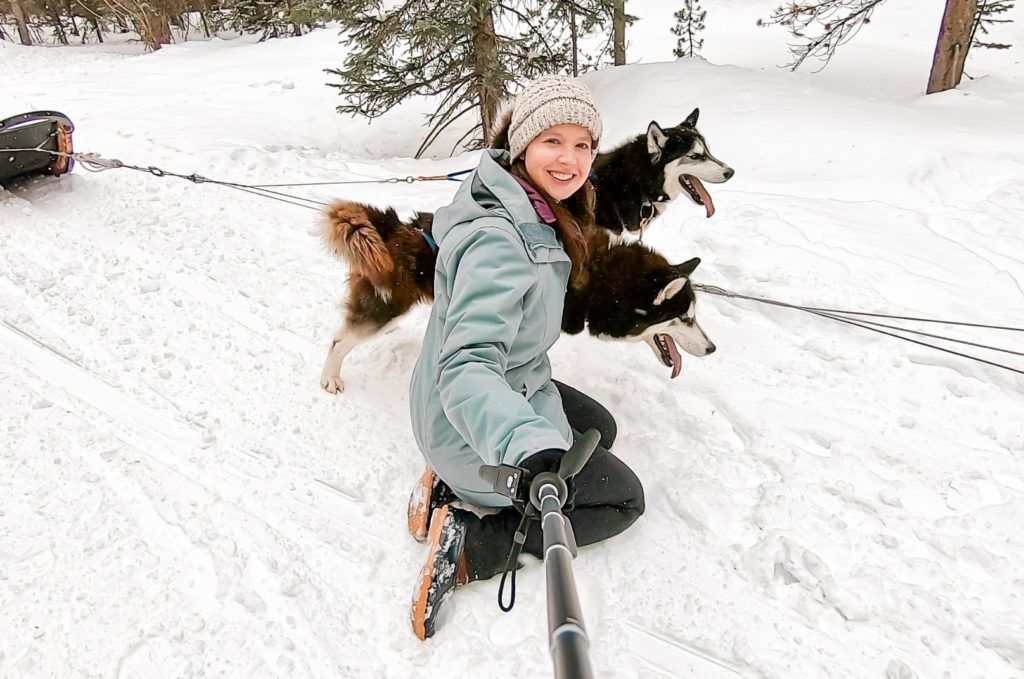
Don’t shy away from using a selfie stick. Sure, you’ll look like a tourist, but you are a tourist! Selfie sticks are fast and easy ways to take photos of yourself and get pictures above a crowd.

This is the selfie stick I use. It’s light-weight, compact, and takes up almost no room in my bags and purse. It also has a remote with a range of 30 feet, and it can become a mini-tripod.

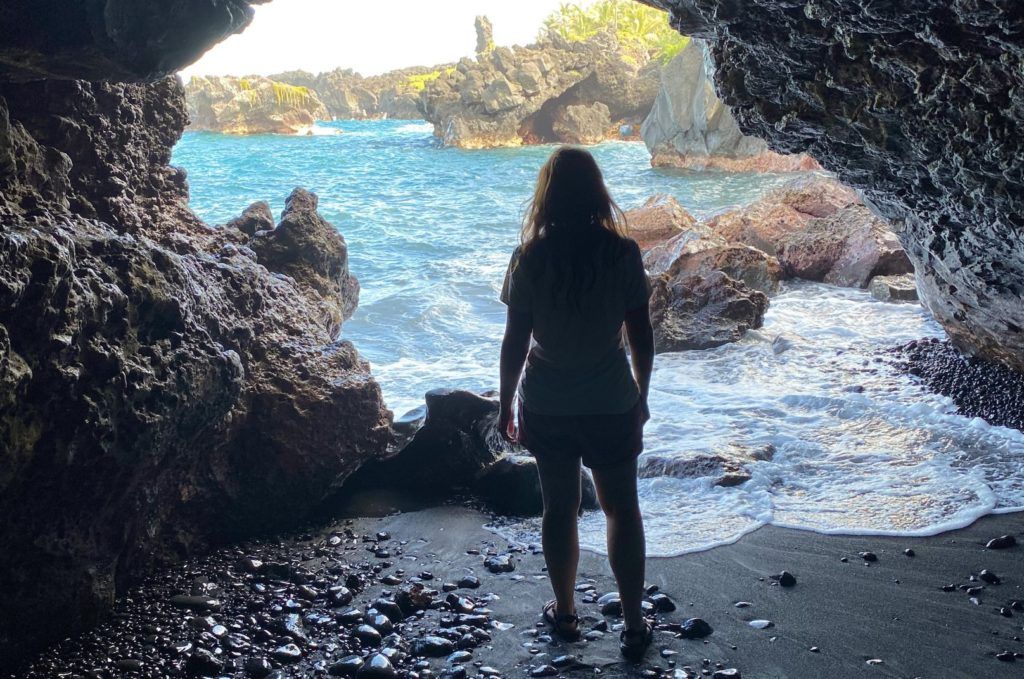
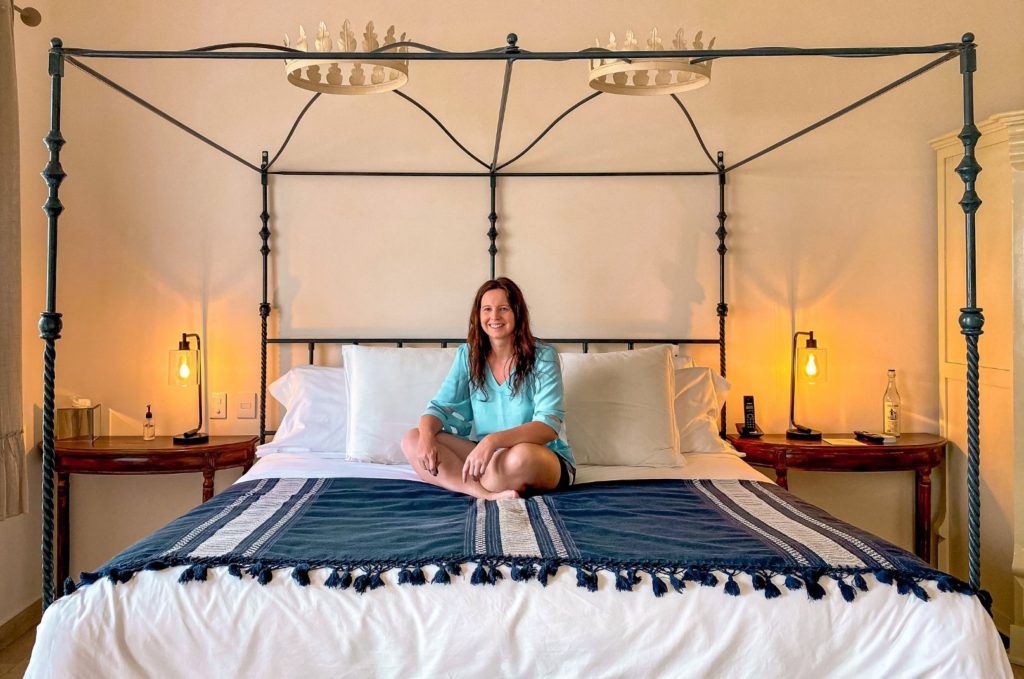
Take the time to frame, orient, and compose your photos in unique and fun ways. Don’t just take wide-angle shots where you’re standing centered, facing away from the camera. Switch up your poses. Position yourself off-center, sitting down, or hanging from a tree. Your Instagram feed will thank you later!
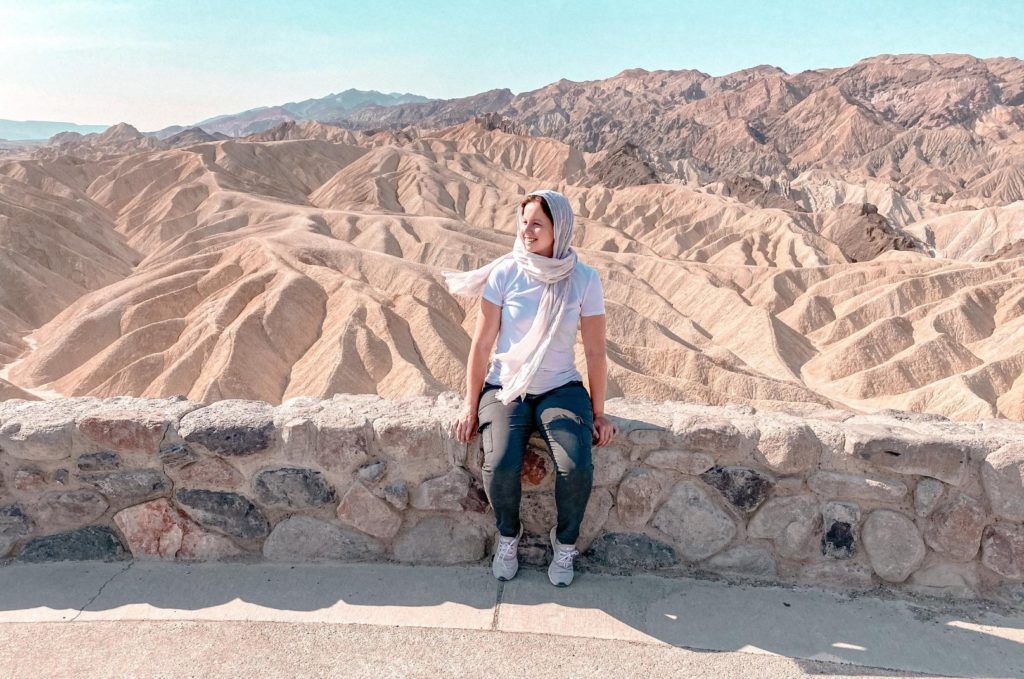
Get creative if you’re traveling solo and want to take a photo but didn’t bring your tripod or selfie stick. Stack rocks to get your phone higher up off the ground, prop your phone against your bag, or ask someone to take your photo.

Bring a compact and lightweight tripod with you. A tripod can get you those truly epic shots because it lets you take a wide range of photos. And some tripods can easily fold up inside your bag!

This is the tripod I use. It has a quick-release plate to switch between a camera, phone, and GoPro easily. Most importantly, this tripod has multi-section legs, which means I have almost endless adjustment options to stabilize and level my tripod on almost any terrain and surface.

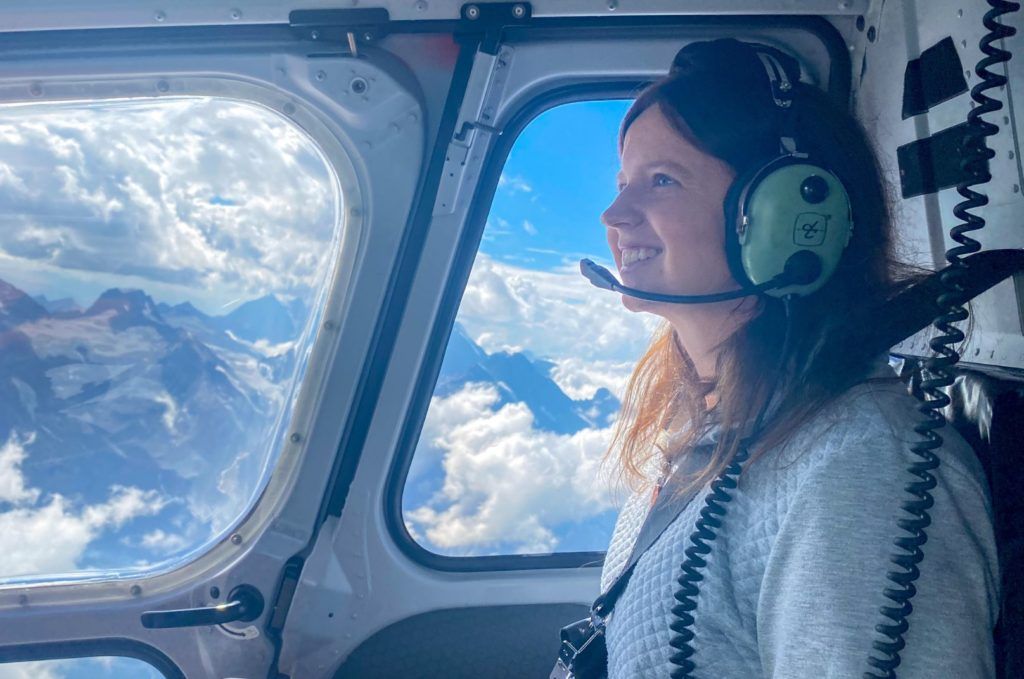
Zooming in with an iPhone lessens the quality of a photo. So get as close as possible to your subject so that you won’t have to zoom in or crop an image. If you can’t get close to your subject (for example, if you’re going on a safari), these iPhone lens attachments will let your iPhone zoom without losing as much quality.
Mornings and evenings have the best light for iPhone photos.
Push the button on the side of your phone to take a picture instead of the screen to keep the phone from moving as much.


Turn your flash off. An iPhone’s flash has such a limited range that it rarely results in a good shot. Instead, use a tripod, or brace your phone against something when taking a photo in low light.
Always take multiple photos. The more options you have, the better your chances of getting the perfect picture.
Do some post-production on your photos. The processing software on our phones is very good. So I’ll make minor photos adjustments in my photos app. If I need to make more technical adjustments, I use Lightroom Mobile to keep from having to transfer images between my phone and computer.

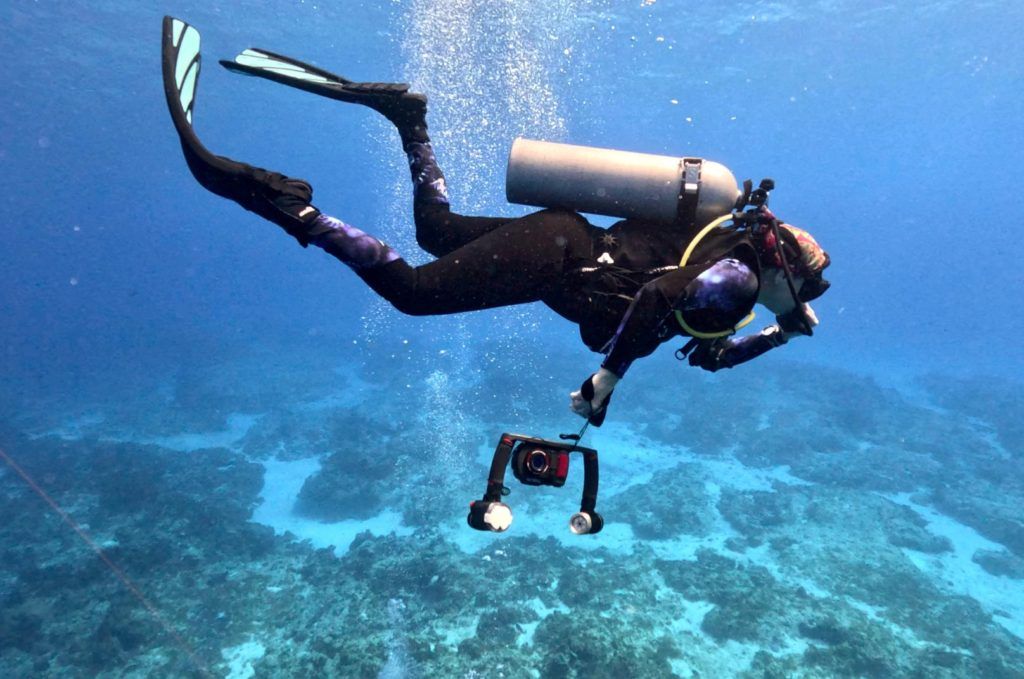
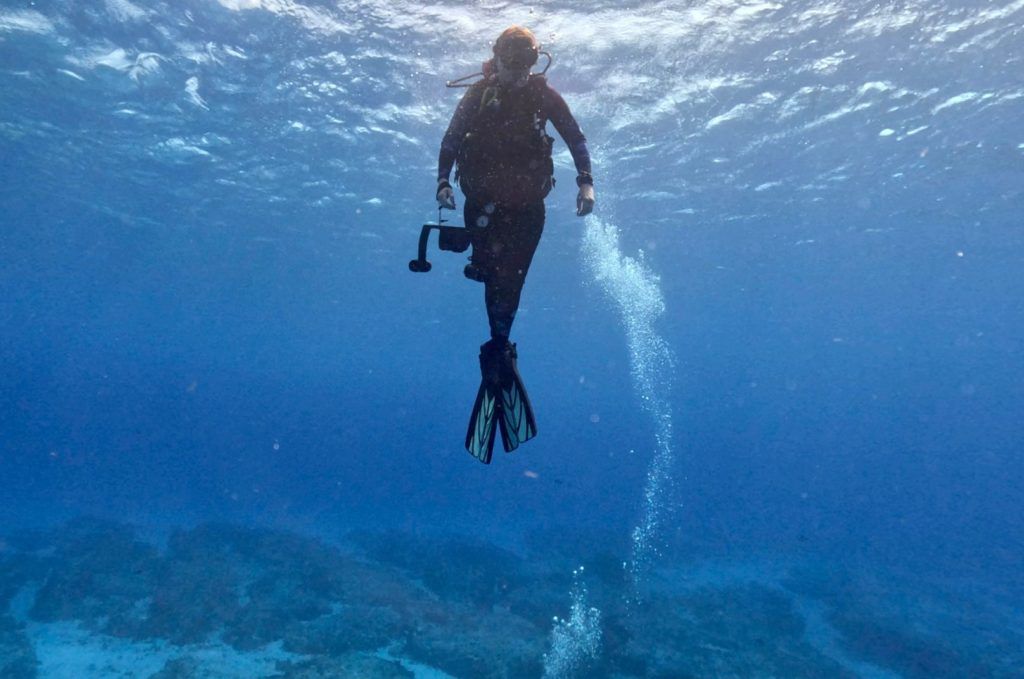
Bring a waterproof case or pouch with you. If you’re going to snorkel or swim with your phone, I highly recommend getting a floating strap to keep your phone afloat and attached to you.
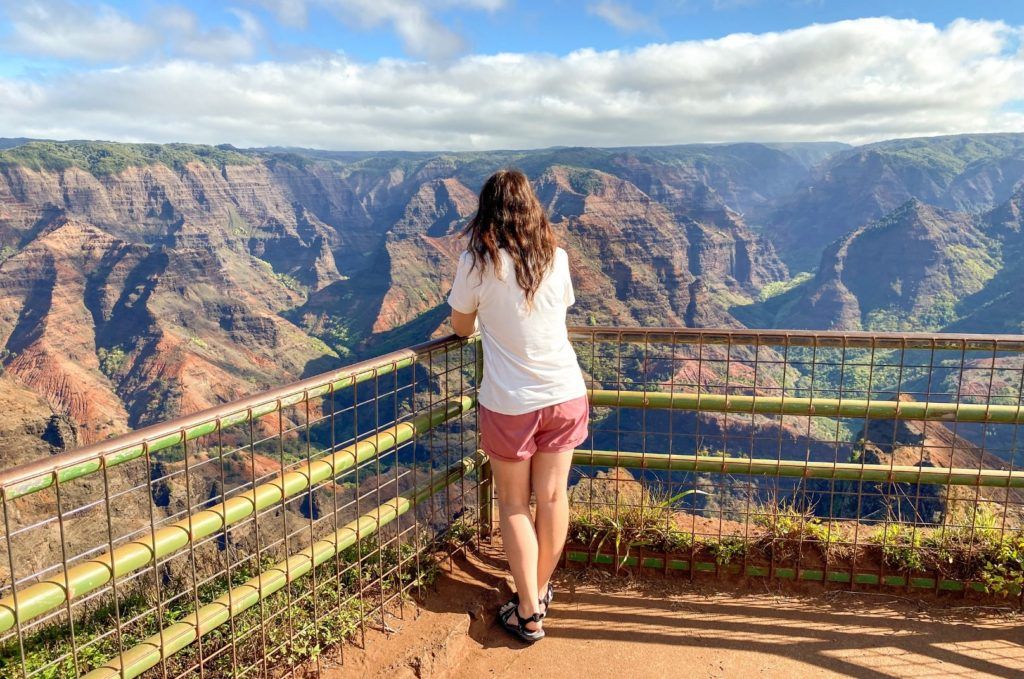
Turn your grid lines on, which will divide an image into thirds, both horizontally and vertically. This feature on your phone will help you easily and quickly take photos using the rule of thirds. The rule of thirds is the best technique for taking epic travel photos – your goal is to keep the subject of your image at the intersection of grid lines.

Shoot in manual mode. To take your smartphone photography game to the next level, use the Halide app that lets you take photos in RAW, which means your pictures will be taken in greater detail with less “noise.”
Then when you import your Halide photos into Lightroom Mobile, you’ll have more control over your edits, and your pictures will be sharper and more vibrant. Plus, Halide lets you add effects to your photos, such as background blur and bokeh, with just a tap of your finger!
Shop My Travel Essentials


What are your top iPhone travel photography tips? Share with us in the comments!
More Travel Tips
-

iPhone Travel Photography Tips


Frequently Asked Questions
Is iPhone good for travel photography?
A DSLR camera takes great pictures, but these cameras are bulky, heavy, and expensive. While an iPhone (which you already have) is compact, lightweight, and better for taking photos quickly. So here are the best iPhone travel photography tips.
With the right equipment, photography techniques, and some creativity, your iPhone can be your go-to travel camera.
How do I take good vacation pictures with my iPhone?
iPhone Travel Photography Tips:
1. Before you leave for your trip, make sure you have enough storage space on your iPhone for the number of pictures you’ll take.
2. Have at least one portable charger with you (I keep two with me at all times on a trip) because you’ll use your battery up faster taking photos with just your iPhone.
3. Familiarize yourself with your phone’s photo settings. Most people don’t utilize their phones’ focus and exposure settings when taking photos. But these are easy changes to make when you’re taking a picture.
4. Experiment with different apps. There are a wide range of free and paid apps that can enhance your iPhone photos and give you more photography tools on your phone.
5. Don’t shy away from using a selfie stick. Sure, you’ll look like a tourist, but you are a tourist! Selfie sticks are fast and easy ways to take photos of yourself and get pictures above a crowd.
How do you take good pictures when traveling?
iPhone Travel Photography Tips:
1. Take the time to frame, orient, and compose your photos in unique and fun ways. Don’t just take wide-angle shots where you’re standing centered, facing away from the camera. Switch up your poses. Position yourself off-center, sitting down, or hanging from a tree. Your Instagram feed will thank you later!
2. Get creative if you’re traveling solo and want to take a photo but didn’t bring your tripod or selfie stick. Stack rocks to get your phone higher up off the ground, prop your phone against your bag, or ask someone to take your photo.
3. Bring a compact and lightweight tripod with you. A tripod can get you those truly epic shots because it lets you take a wide range of photos. And some tripods can easily fold up inside your bag!
4. Zooming in with an iPhone lessens the quality of a photo. So get as close as possible to your subject so that you won’t have to zoom in or crop an image. If you can’t get close to your subject (for example, if you’re going on a safari), these iPhone lens attachments will let your iPhone zoom without losing as much quality.
5. Mornings and evenings have the best light for iPhone photos.
How do professional photographers use iPhone?
iPhone Travel Photography Tips:
1. Push the button on the side of your phone to take a picture instead of the screen to keep the phone from moving as much.
2. Turn your flash off. An iPhone’s flash has such a limited range that it rarely results in a good shot. Instead, use a tripod, or brace your phone against something when taking a photo in low light.
3. Always take multiple photos. The more options you have, the better your chances of getting the perfect picture.
4. Do some post-production on your photos. The processing software on our phones is very good. So I’ll make minor photos adjustments in my photos app. If I need to make more technical adjustments, I use Lightroom Mobile to keep from having to transfer images between my phone and computer.
5. Bring a waterproof case or pouch with you. If you’re going to snorkel or swim with your phone, I highly recommend getting a floating strap to keep your phone afloat and attached to you.
How do I turn my iPhone into a DSLR?
Shoot in manual mode. To take your smartphone photography game to the next level, use the Halide app that lets you take photos in RAW, which means your pictures will be taken in greater detail with less “noise.”
Then when you import your Halide photos into Lightroom Mobile, you’ll have more control over your edits, and your pictures will be sharper and more vibrant. Plus, Halide lets you add effects to your photos, such as background blur and bokeh, with just a tap of your finger!
How do you travel with iPhone?
iPhone Travel Photography Tips:
1. Before you leave for your trip, make sure you have enough storage space on your iPhone for the number of pictures you’ll take.
2. Have at least one portable charger with you (I keep two with me at all times on a trip) because you’ll use your battery up faster taking photos with just your iPhone.
3. Familiarize yourself with your phone’s photo settings. Most people don’t utilize their phones’ focus and exposure settings when taking photos. But these are easy changes to make when you’re taking a picture.
4. Experiment with different apps. There are a wide range of free and paid apps that can enhance your iPhone photos and give you more photography tools on your phone.
5. Don’t shy away from using a selfie stick. Sure, you’ll look like a tourist, but you are a tourist! Selfie sticks are fast and easy ways to take photos of yourself and get pictures above a crowd.
How do you take beach pictures with iPhone?
iPhone Travel Photography Tips:
1. Take the time to frame, orient, and compose your photos in unique and fun ways. Don’t just take wide-angle shots where you’re standing centered, facing away from the camera. Switch up your poses. Position yourself off-center, sitting down, or hanging from a tree. Your Instagram feed will thank you later!
2. Get creative if you’re traveling solo and want to take a photo but didn’t bring your tripod or selfie stick. Stack rocks to get your phone higher up off the ground, prop your phone against your bag, or ask someone to take your photo.
3. Bring a compact and lightweight tripod with you. A tripod can get you those truly epic shots because it lets you take a wide range of photos. And some tripods can easily fold up inside your bag!
4. Zooming in with an iPhone lessens the quality of a photo. So get as close as possible to your subject so that you won’t have to zoom in or crop an image. If you can’t get close to your subject (for example, if you’re going on a safari), these iPhone lens attachments will let your iPhone zoom without losing as much quality.
5. Mornings and evenings have the best light for iPhone photos.
How do you take pictures when traveling solo?
How To Take Epic Photos of Yourself While Traveling Solo:
1. Use a selfie stick.
2. Get a GoPro.
3. Bring a tripod.
4. Ask someone to take your photo.
5. Carefully consider your composition, timing, and lighting.
6. Take multiple shots and work with what you have.
YOUR TRAVEL CHECKLIST
PIN THESE TIPS!

This list of iPhone travel photography tips is not a sponsored post, and, as always, the thoughts and opinions expressed in this list of iPhone travel photography tips are entirely my own. Some of the links in this list of iPhone travel photography tips are affiliate links, and, at no cost to you, I may earn a small commission.


